As the main user (company administrator
role, CM) for your company account, you would like to add colleagues
as users of the Industry Service Mall, to delete their account
and to restrict or expand user rights.
Creating Users and Defining Rights
- Place your mouse pointer on the administration icon on
the central menu bar
 . A drop-down menu
will open. . A drop-down menu
will open.
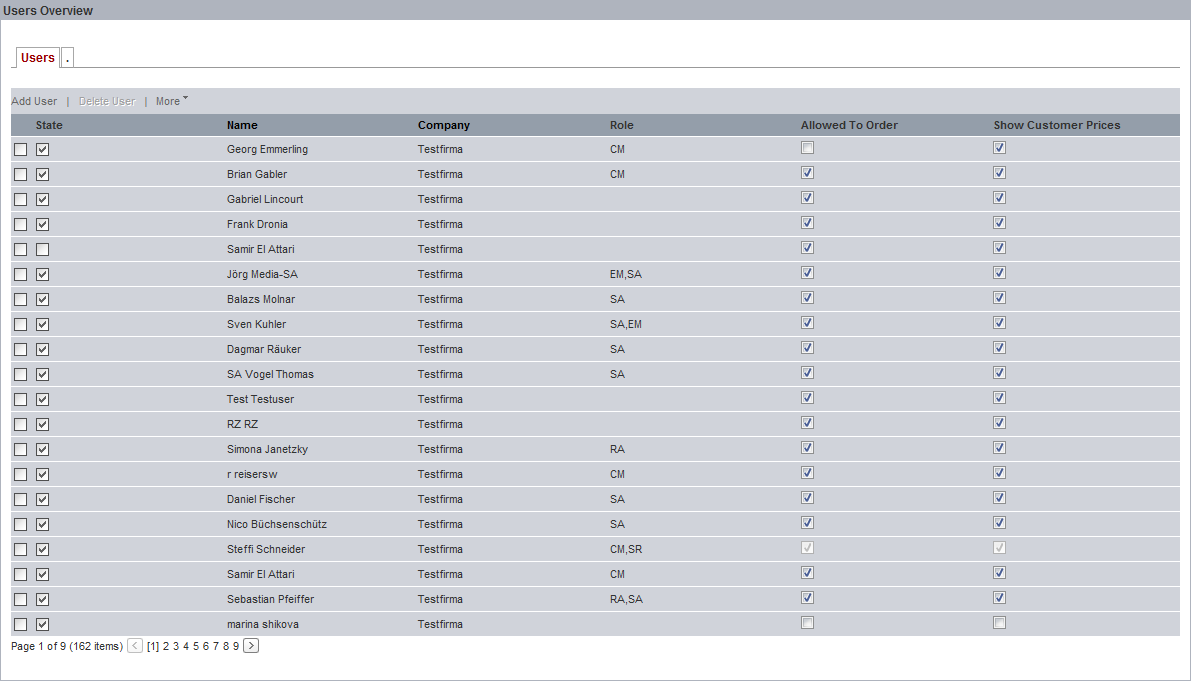
- Select Users. A
user overview will open.
- On the overview function bar, click Add
User.
- A new input window will open. Enter the details of the
new user and assign a password.
- In the last step, define the user rights.
Compare Users
In order to simplify the assignment of user rights you can compare
users. You can make decisions more easily on this basis,
- Under the overview, a list of user data will open. Select
the tab User Rights.
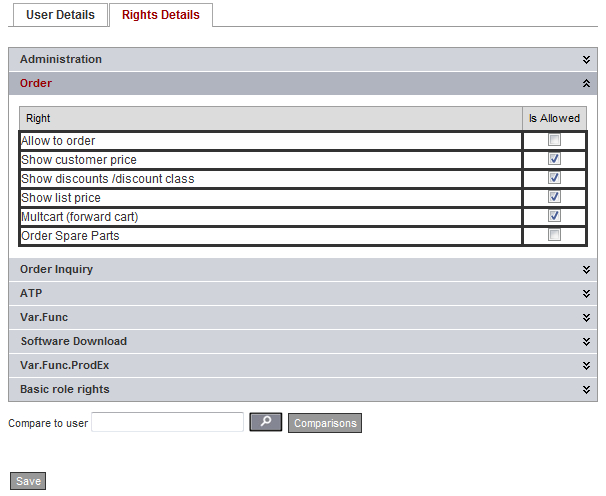
- Here you will find the function Compare
to user.
- Click on the magnifying glass to open a list of users.
- Select the user. The comparison is shown in the user data.
Print or Export Overview
You can print or save (in Excel) an overview of all your company
users.
- Open the User Overview.
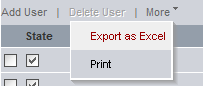
- Click More... on
the Overview toolbar.
- Choose Export as Excel
from the drop down menu, either as Excel or Print.
Use a Predefined Profile
- Open the drop down menu Role.
You can select the appropriate function of the new user.
- Here specific profiles are predefined with the same rights.
- Define a user profile.
- Click on a category. A drop down menu with a detailed prompt
will open.
- After editing all categories, click Finish.
Deactivate Right of Ordering
You can deactivate the right of a certain user to order. Although
they will be unable to place any orders – they will still be able
to use all the other features of the shopping cart.
- Place your mouse pointer on the administration icon on
the central menu bar
 . A drop-down menu
will open. . A drop-down menu
will open.
- Select Users. A
user overview will open.
- To view the user data of a particular person, click the
person’s name in the overview.
- Scroll down the page to view the table with the desired
data.
- Select the Rights Details
tab. Click Order.
- Check whether the checkbox is selected in the Allow
to order row and clear it if necessary.
- Click Save to accept
all changes.
Tip
The shopping cart can be forwarded within your own company to
all users by selecting the right Multicart
(forward cart) within your Company.
Viewing and Changing User Data
- Place your mouse pointer on the administration icon on
the central menu bar
 . A drop-down menu
will open. . A drop-down menu
will open.
- Select Users. A
user overview will open.
- To view the user data of a particular person, click the
person’s name in the overview.
- Scroll down the page to view the table with the desired
data.
- On the User Details
tab, you will find all information on the selected user. Here
you can change all rights in various categories.
- Click Submit to
accept all changes.
Deleting Users
- Place your mouse pointer on the administration icon on
the central menu bar
 . A drop-down menu
will open. . A drop-down menu
will open.
- Select Users. A
user overview will open.
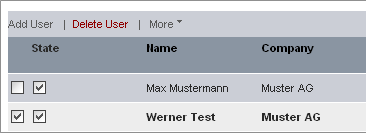
- Select the checkbox of the corresponding user.
- On the overview function bar, click Delete
User.
- Click OK to confirm
the subsequent query.
|
 |
