You want to structure the information
displayed in the cart according to your requirements. In addition,
you need an overview of your carts. Sorting into uniquely named
folders makes it easier for you to search for product lists.
Customised cart structure
Decide which information should be displayed in your cart.
- On the central menu bar, click the cart icon
 . .
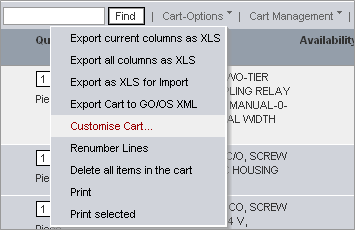
- On the cart function bar, click Cart-Options
to open the drop-down menu. Select Customise
Cart.
- Click Add/remove columns
to open the Field chooser.
- To add a column: Drag the desired field to the desired
location.
- To remove a column: Drag the desired field to the Field chooser box.
- Click Save changes
and return to cart to save your changes
Saving your cart
You can store an active cart so that you can use it later.
- On the central menu bar, click the cart icon
 . .
- On the cart function bar, click Cart
Management to open the drop-down menu.
- Select Save List as Order
Template. A query window will open.
- Enter a name and choose a folder where the cart should
be saved.
Complete list of carts
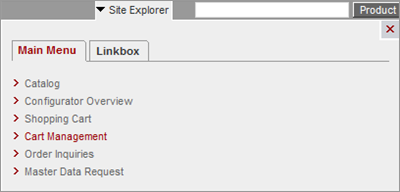
- On any page click on Site
Explorer and select Cart
Management.
- Or if you are already inside a cart, on the cart function
bar, click Cart Management
to open the drop-down menu.
- Select the Cart Management
option.
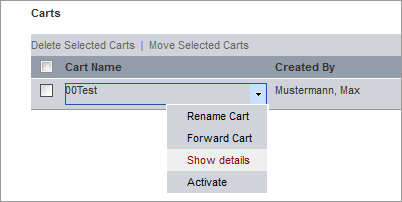
- You will then see a list of your carts.
Creating a new cart
- Click on Site Explorer
and select Cart
Management.
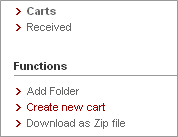
- In the Functions navigation at the right, click Create
new cart.
Viewing the cart details
Sorting carts into folders
- Click on Site Explorer
and select Cart
Management.
- Select the checkbox of the carts that you would like to
sort.
- Click Move selected
carts. A window will open.
- Select the desired folder into which you would like to
sort the carts.
Creating a folder for carts
- Click on Site Explorer
and select Cart
Management.
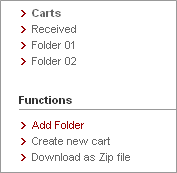
- In the Functions navigation at the right, click Add
folder. A pop-up window will open.
- Enter the name for your folder.
- This folder will then be available for the sorting function.
Repeat this process as often as you like. In this way, you
can create a practical folder structure, where you can store
your carts in a clear arrangement as needed.
Entry folder for ERP2Mall
In addition to the default Carts a folder input
is available. Here, the system stores the carts that were sent
to you by e-mail from the application ERP2Mall,
and has resorted to a so-called stop-option.
The stop options can be managed by a company administrator.
It can determine whether the carts that have been received over
ERP2Mall, can be stopped either generally, or whether in response
to individual events such as
- variations in delivery dates,
- Unknown or outdated items,
- Price differences,
- Incorrect project references,
- not met minimum order quantities.
Once a cart has been stopped an e-mail with a direct link to
the corresponding shopping cart will be made available. You can
also open the input folder and manually check, rename, forward
or load your shopping carts. You have the same functionality with
ERP2Mall carts as manually created and deleted carts. |


 |


